

How To Install A Golf Cart Battery Meter 48 Volt
Alright, terrific you just received your new golf cart battery meter from Petes Golf Carts and you are set up to head to the garage and install information technology on your golf cart. Pete volition at present walk you thru the install of a new golf game cart battery meter to proceed up with the current status and state of charge of your golf carts bombardment banking company.
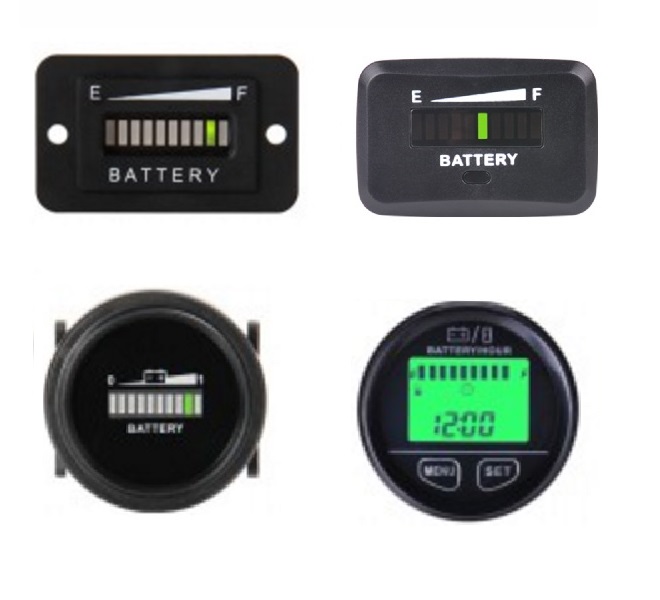
If y'all want one – click here to buy ane now!
Safety First!
Let'south head to the garage together. Let'due south first talk safety, nothing serious here only if y'all practise decide to install on the dash of your golf cart, power tools will make the task a lot easier. So with that being said, lookout man out for annihilation long or hanging when using high speed rotary tools, drills, dremels, etc… pull back hair, baggy shirts, tie, sunglasses on strap, etc… and vesture rubber glasses to avoid eye injuries from flying droppings.
What you will need
Y'all will demand a few tools and some supplies for this petty chore installing your golf cart battery judge.

Tool listing
- Dremel or similar tool to cut slot for meter (holesaw and drill if you have a circular meter)
- Digital or Analog Voltage Meter
- Razor knife
- Spiral drivers
- Wire cutters and striper
- Vice Grips or Curling
- Butane Torch or Lighter
Supplies
- 3′ of wire 14-18 Approximate (or longer depending on where you lot intend to install the battery meter)
- Heat shrink or Electric tape
- Butt Connectors
- F2 terminal Connectors ( Included)
- Mounting Screws (Included)
Step past Step – How to Install Your New Golf Cart Battery Meter
Step 1 – Where to Mount your Meter?
Beginning let's determine where y'all intend to mount the golf game cart battery meter?
Footstep Two – Become started
Let'southward assume y'all are to mount on the dash.
You will then need approx. three pieces ( 3 pcs.) of 8-12″ of wire… fourteen-18 ga. is plenty.
Footstep Three – Prep your wires
Next prep the ends with the clippers, and strippers for terminal ends and barrel connectors. (I recommend the marine-style ones considering they have heat shrinking casing and glue inside and then once continued and crimped and so heated, they create a sealed connection from the exterior environment (i.e. – no corrosion).
Step Four – Attach
Now you tin attach the provided connectors and barrel connectors to the wires.
We do a lot of Club Car Precedent model carts because I like the aluminum frames and lower plastic accessories that are easy to supplant and are readily bachelor in the consequence of damage.
So I volition use this every bit a bailiwick for this installation.
Annotation: All golf carts are very similar in nature so if you take a different model Society Car, y'all will nigh likely await at the same stuff I describe here in this article, or if you own a Ezgo or Yamaha golf cart besides.
If you ain a Lodge Machine Precedent it volition accept an extra set of wires coming off the wire harness behind the dash and ignition switch. These wires are designed exactly for this type of battery indicator gauge or battery meter and will reflect the electric current battery bank voltage… Cheque with your multi-meter/digital voltage meter to exist certain before connecting the prepared wires you are grabbing the correct wires.
Should indicate approx. 48v or 51 volt or then if fully charged bombardment bank. Sometimes you can use those wires directly to the meter. If you lot mount the meter shut enough to the switch, the factory wires will reach.
Note: Some models of golf carts volition require wires run from the positive and negative terminals on the battery depository financial institution to get the bombardment depository financial institution voltage. An culling is tracking down the input voltage on a golf cart voltage reducer that are on some custom golf carts that have other 12v accessories like stereo or lights.
Footstep Five – Connect the bespeak terminal to ignition
Next step will be to connect the wire to the indicate terminal on the meter to the ignition. You volition need to add a jumper from the ignition on /off switch to the tab on the bottom of the battery gauge which is a signal wire. This way the meter merely comes on when you lot plow the golf carts ignition on.
All of these meters are also clearly marked on back of the meter.
That's it! Find your new meter here
Buy your new golf game cart battery meter now – Free Shipping for a limited time!
Source: https://www.petesgolfcarts.com/how-to/how-to-install-your-new-golf-cart-battery-meter/
0 Response to "How To Install A Golf Cart Battery Meter 48 Volt"
Post a Comment